Effective Tools for Detecting Radon Levels
- Frank Talarico
- Aug 13, 2025
- 4 min read
Radon is a naturally occurring radioactive gas that can seep into homes and buildings from the ground. It is colorless, odorless, and tasteless, making it impossible to detect without specialized equipment. Prolonged exposure to high radon levels can pose serious health risks, including lung cancer. Therefore, understanding the tools available for radon detection is crucial for maintaining a safe indoor environment.
Understanding Tools for Radon Detection
There are several tools designed to measure radon levels accurately. These tools vary in complexity, cost, and the duration of testing. Choosing the right tool depends on your specific needs, such as whether you want a quick snapshot or a long-term measurement.
Passive Radon Detectors
Passive detectors do not require power to operate. They are simple, affordable, and widely used for initial radon testing.
Charcoal Canisters: These small containers absorb radon gas over a period of 2 to 7 days. After exposure, they are sent to a lab for analysis.
Alpha Track Detectors: These devices use a plastic film that records alpha particles emitted by radon decay. They are typically deployed for 3 months to a year.
Electret Ion Chambers: These detectors contain a charged disk that loses voltage when exposed to radon. They can be used for short or long-term testing.
Active Radon Detectors
Active detectors require power and provide continuous radon level monitoring. They are more expensive but offer real-time data and alerts.
Continuous Radon Monitors (CRMs): These electronic devices measure radon levels hourly or more frequently. They are ideal for professional testing and detailed analysis.
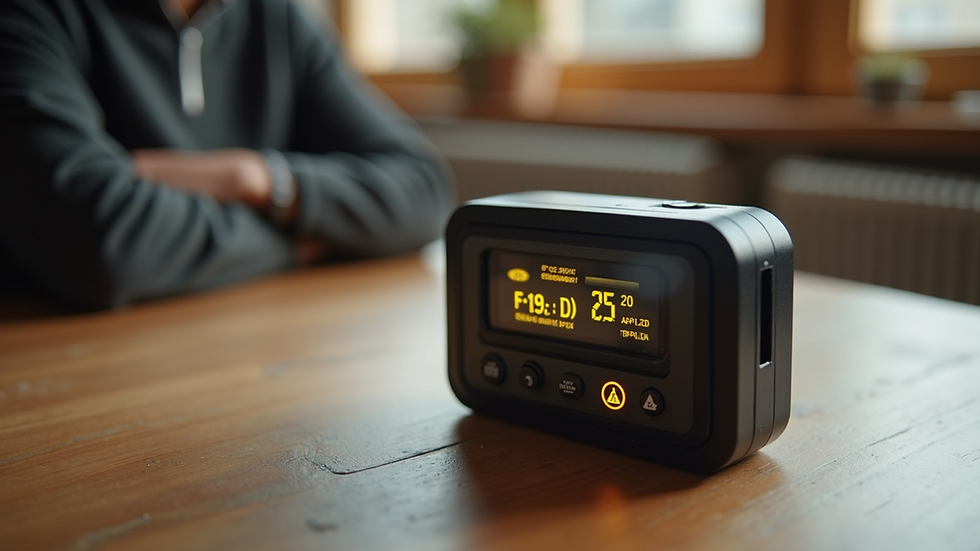
Digital Radon Detectors: Portable and user-friendly, these devices display radon levels instantly and store data for later review.

How do you check for radon in your house?
Testing your home for radon is straightforward but requires careful attention to detail to ensure accurate results.
Choose the Right Detector: For initial testing, a passive detector like a charcoal canister or alpha track detector is sufficient. For ongoing monitoring, consider an active detector.
Placement: Place the detector in the lowest lived-in level of your home, such as the basement or ground floor. Avoid kitchens, bathrooms, and areas with high humidity.
Testing Duration: Short-term tests last 2 to 7 days, while long-term tests can last up to a year. Longer tests provide a more accurate average radon level.
Follow Instructions: Each detector comes with specific instructions. Follow them carefully to avoid contamination or inaccurate readings.
Send for Analysis: If using passive detectors, send them to a certified lab promptly after the testing period.
Interpret Results: Radon levels are measured in picocuries per liter (pCi/L). The EPA recommends action if levels exceed 4 pCi/L.

Advantages and Limitations of Radon Detection Tools
Each radon detection tool has its strengths and weaknesses. Understanding these can help you select the best option for your situation.
Passive Detectors
Advantages:
Affordable and easy to use
No power required
Suitable for initial screening
Limitations:
Require lab analysis, which takes time
Provide average radon levels, not real-time data
Sensitive to environmental factors like humidity
Active Detectors
Advantages:
Provide continuous, real-time monitoring
Can detect fluctuations in radon levels
Useful for professional assessments and mitigation verification
Limitations:
More expensive than passive detectors
Require power source
May need calibration and maintenance

Tips for Accurate Radon Testing
To ensure your radon test results are reliable, consider the following tips:
Test During Closed-House Conditions: Keep windows and doors closed as much as possible during the test, except for normal entry and exit.
Avoid Testing During Extreme Weather: Heavy rain or strong winds can affect radon levels and test accuracy.
Test in Multiple Locations: If your home has multiple levels, test each level separately.
Retest After Mitigation: If you install a radon mitigation system, retest to confirm its effectiveness.
Use Certified Labs and Devices: Ensure your test kits and analysis labs are certified by recognized organizations.
Taking Action After Radon Detection
If your radon test indicates elevated levels, it is important to take prompt action to reduce exposure.
Consult a Radon Mitigation Professional: They can assess your home and recommend solutions such as soil suction, sealing cracks, or improving ventilation.
Install a Radon Mitigation System: These systems reduce radon levels by venting the gas outside before it enters your home.
Regular Monitoring: Continue to monitor radon levels periodically to ensure your mitigation system remains effective.
For more detailed information on detecting radon levels, including professional testing services and mitigation options, visit the linked resource.
Staying Safe with Regular Radon Testing
Radon exposure is a serious health concern, but it is manageable with the right tools and knowledge. Regular testing using appropriate radon detection tools is the first step toward a safer home environment. Whether you choose passive or active detectors, understanding how to use them correctly will help you protect your family from the dangers of radon gas. Stay informed, test regularly, and take action when necessary to maintain healthy indoor air quality.


Comments